
How to Add Your SPRO CCTV Recorder to the DMSS App

Being able to view your CCTV cameras from anywhere is one of the biggest advantages of a modern security system. Whether you're at work, on holiday, or simply away from your property, the DMSS mobile app allows you to monitor your SPRO CCTV system directly from your smartphone.
The good news is that connecting your recorder only takes a few minutes. In this guide, we'll show you how to add your SPRO DVR or NVR to the DMSS app using the built-in P2P QR Code feature.
What You'll Need
Before you begin, make sure you have:
An SPRO DVR or NVR connected to the internet (Click here read how to enable P2P)
The DMSS app installed on your Android Device or iPhone
Account registered on the DMSS app (Click here to read how to create a DMSS Account)
Your recorder username and password
Access to the QR code found on your recorder
Download and install the DMSS APP here:


Watch this short Step-by-Step Video Tutorial
Prefer a quick visual guide?
Watch our short step-by-step tutorial to see exactly how to add your SPRO recorder to the DMSS app in under one minute.
Step 1 – Open the DMSS App
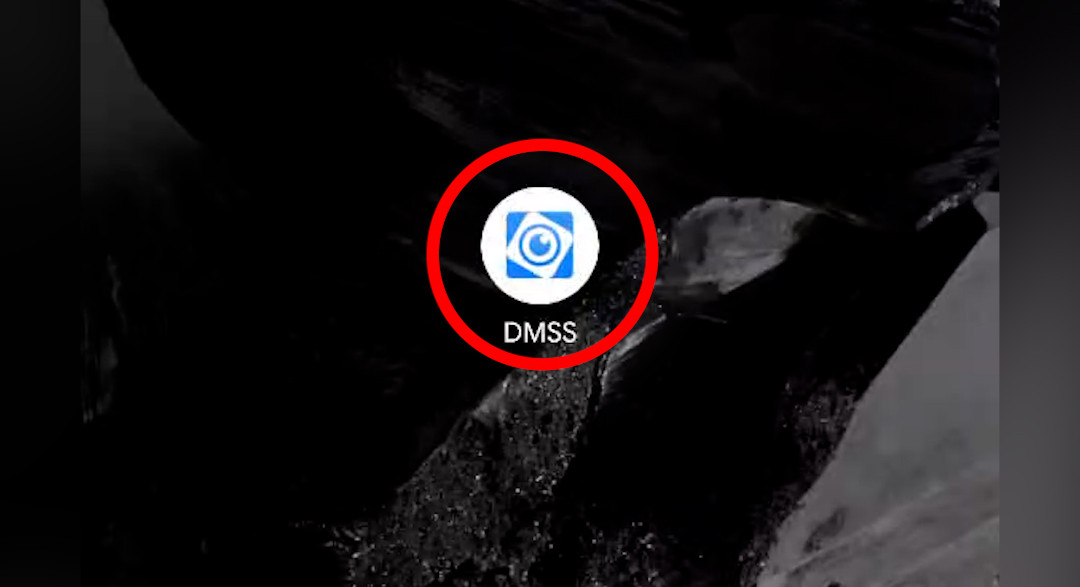
Launch the DMSS application on your smartphone.
If this is your first time using the app, complete the initial setup and allow the required permissions.
Step 2 – Add a New Device
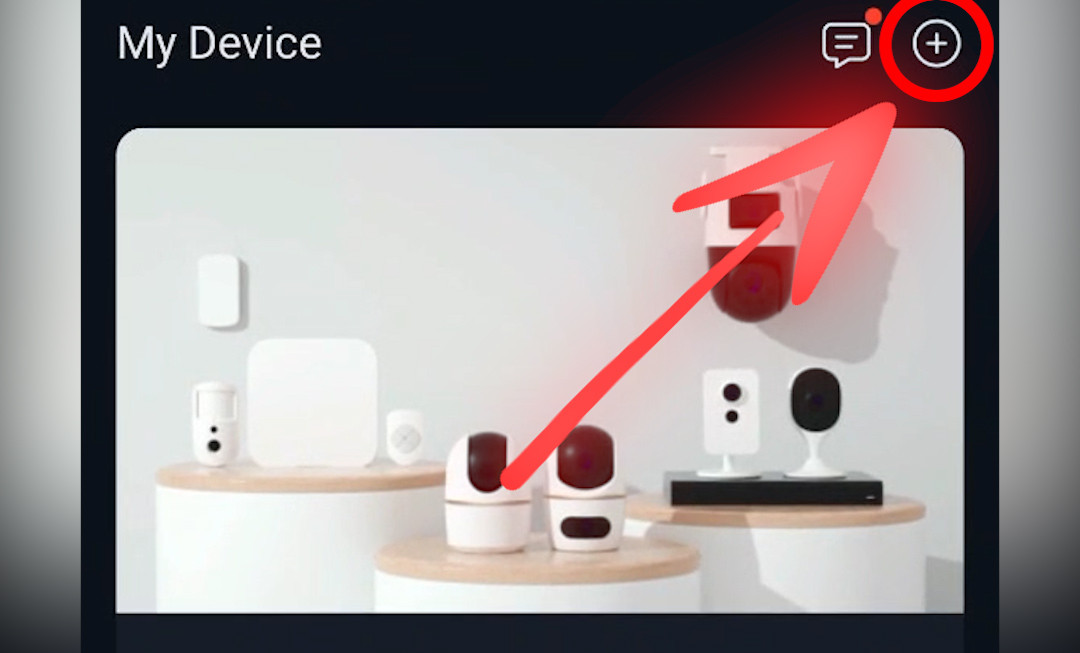
Tap the "+" icon located in the top-right corner of the screen.
This allows you to add a new recorder to your account.
Step 3 – Select "Scan QR Code"
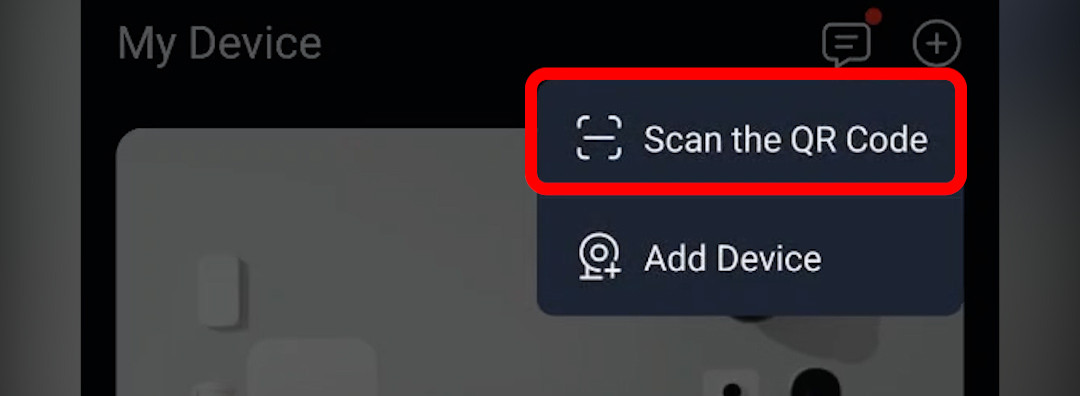
Choose Scan QR Code from the available options.
The easiest and fastest way to add your recorder is by scanning its unique QR code.
Step 4 – Locate Your Recorder's QR Code
There are two places you can find the QR code:
On the sticker attached to your DVR or NVR.
Within the recorder menu by navigating to:
Network → P2P
The QR code displayed here is the one you'll scan with the DMSS app.
Step 5 – Scan the QR Code

Point your phone's camera at the QR code.
Once recognised, the recorder details will automatically be entered into the app.
Step 6 – Enter Your Recorder Password

When prompted, enter the password for your recorder.
This is the same password you use to log directly into the recorder and click Next.
Step 7 – Wait for the Device to Connect

The DMSS app will now communicate with your recorder using its secure P2P connection.
After a few moments, the recorder should be successfully added.
Step 8 – Give Your Recorder a Name

Choose a friendly name to help identify the system.
Examples include:
Home
Office
Warehouse
Shop
Reception
Naming your recorder makes it much easier to identify if you manage multiple CCTV systems.
Step 9 – Start Viewing Your Cameras

Tap Get Started.
Your live camera views should now appear within the app, allowing you to monitor your property from virtually anywhere with an internet connection.
Why Use the DMSS App?
The DMSS app gives you convenient access to your CCTV system wherever you are.
Some of the key benefits include:
View live CCTV footage remotely
Playback recorded video
Receive alarm notifications
Monitor multiple sites from one app
Access cameras from your smartphone or tablet
Quick and secure P2P connection
Whether you're protecting your home or business, remote access means you're never far from your security system.
Troubleshooting
If your recorder doesn't appear after scanning the QR code, check the following:
The recorder is connected to the internet.
P2P is enabled within Network → P2P.
The recorder status shows Online.
The password entered is correct.
Your mobile device has an internet connection.
Ensure the recorders date, time and time zone are correct.
If you're still experiencing problems, restarting both the recorder and the DMSS app can often resolve connection issues.
Final Thoughts
Connecting your SPRO CCTV recorder to the DMSS app is one of the quickest ways to unlock the full potential of your security system. With just a few simple steps, you'll be able to monitor your cameras remotely, receive important notifications, and keep an eye on your property wherever you are.
If you found this guide helpful, be sure to explore our other tutorials for more installation tips, configuration guides, and expert advice from the SPRO team.


Comments